Warm Welcome
Enemies deal double damage.
Your presence is welcomed with two-fold the generosity. Enemies deal double damage to inflict major wounds.
Solo Dungeons launch with Season Two on October 21, 2026.
Solo March of Sacrifices is the one-player version of the Wolfhunter dungeon, added in Update 51. It has the same five bosses and three optional Golden Indrik hunts, and you pick the difficulty yourself with 0 to 3 Meted Misfortunes.
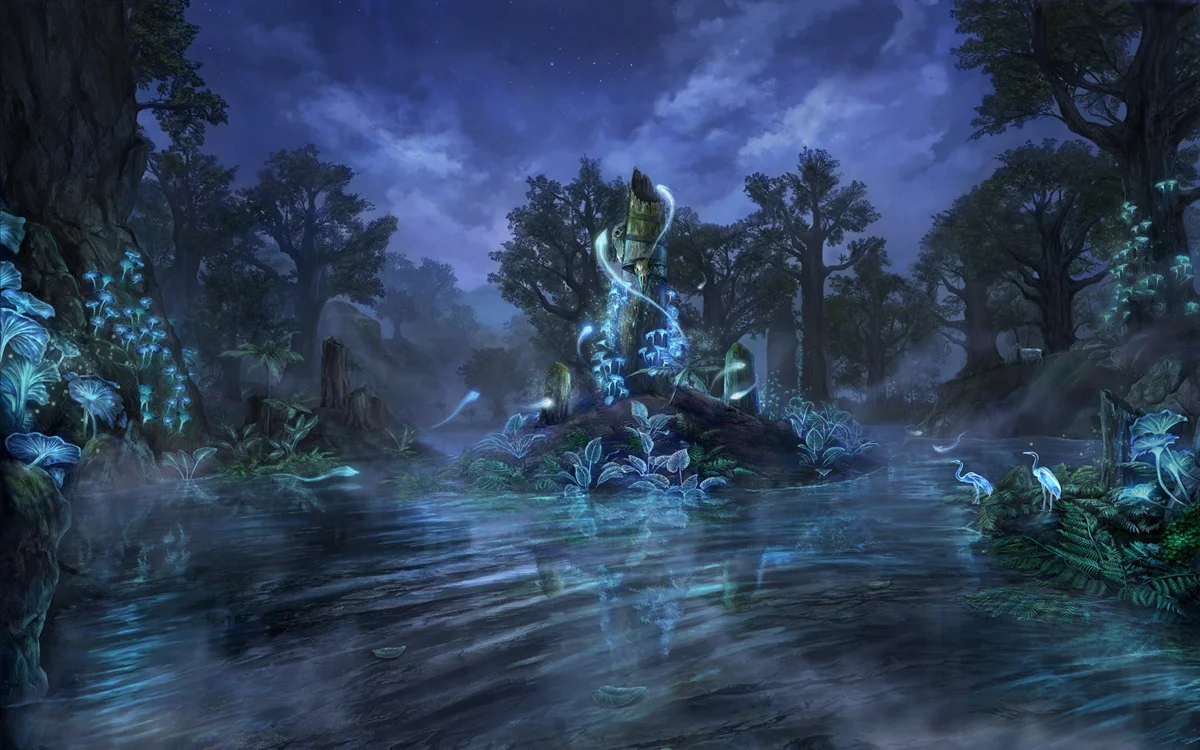
The entrance is in southwestern Greenshade, southwest of Serpent's Grotto Wayshrine, and you can also enter from the world map. It's free for everyone.
Misfortunes are optional modifiers. Each one you turn on makes the run harder and pays out more.
Right at the entrance there's a glowing pile of weapons and shields called Meted Misfortunes. Activate it and choose up to 3. You can't change them mid-run. To pick different ones, use the Reset Hourglass next to it and start over.
Misfortunes
Enemies deal double damage.
Your presence is welcomed with two-fold the generosity. Enemies deal double damage to inflict major wounds.
Health, Stamina and Magicka Recovery reduced by 50%.
You forfeit part of your power, with only willpower left to drive you.
You deal 30% less damage from all sources.
Strength seeps away from your fingertips as you face your enemies.
1
Pulled Punches
2
Warm Welcome
3
Weary Submission
Pulled Punches is the easiest. On most builds Warm Welcome comes next and Weary Submission is the worst, unless you have some busted sustain ability like Soul of Flame or you're playing a Heavy Attack or Werewolf build, in that case Weary Submission is straight up the easiest.
Difficulty (according to me)
Pretty much Overland, trash mobs have even less Health than regular Overland mobs (24k).
Difficulty (according to ZOS)
Comparable to overland difficulty
Monsters deal the least damage, have low health pools, and have fewer abilities
Rewards
Difficulty (according to me)
Comparable to Normal Solo Arenas.
Difficulty (according to ZOS)
Comparable to a Normal solo arena
Monsters deal threatening damage, have more health, can access more abilities, and appear in greater numbers
Rewards
Difficulty (according to me)
More difficult than Veteran Solo Arenas.
Difficulty (according to ZOS)
Comparable to a Veteran solo arena
Monsters deal dangerous amounts of damage, have larger health pools, can use deadlier abilities, and appear in greater numbers
Rewards
Difficulty (according to me)
Difficulty is all over the place. In some places it's more difficult than soloing the Group version of the dungeon.
Difficulty (according to ZOS)
Harder than other comparable solo content
Monsters deal deadly damage, have the largest health pools, and have all abilities and mechanics at their disposal while appearing in droves
Rewards
Solo Dungeons have an unusual amount of Armor on enemies. Trash mobs are just like other instanced enemies, they have 18,200 Armor, but most bosses have 27,300 and the final boss has 36,400.
This means you can benefit from a ton of Penetration, and you can choose the Lover Mundus even when using Light Armor. But don't overdo it, there comes a point where dropping other stats in favor of Penetration isn't worth the opportunity cost, so don't try to actually reach 36,400 Penetration.
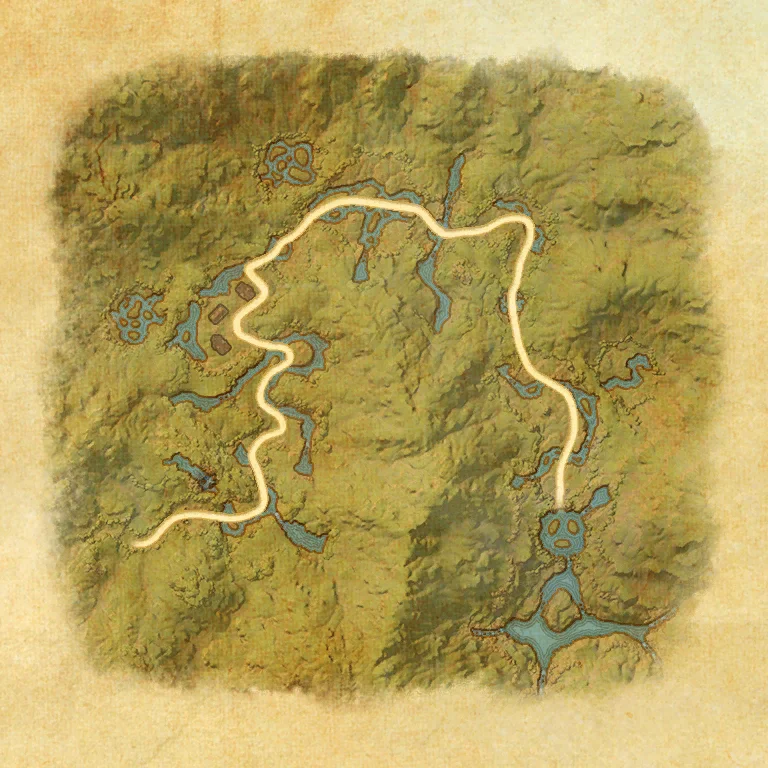
Pick a boss on the map or the list.
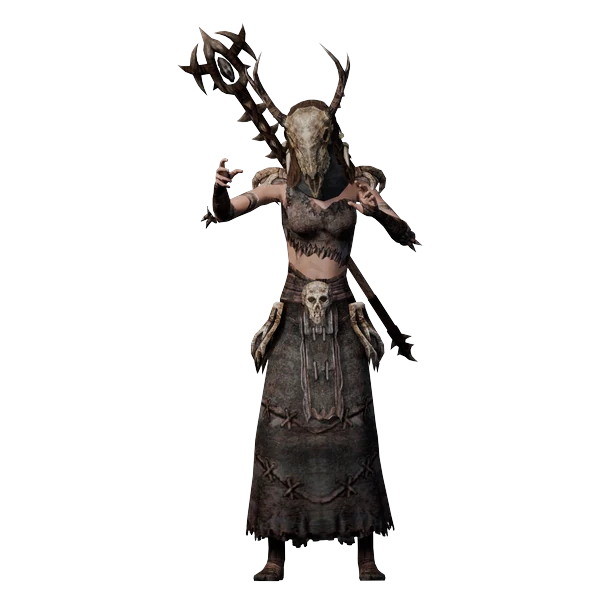
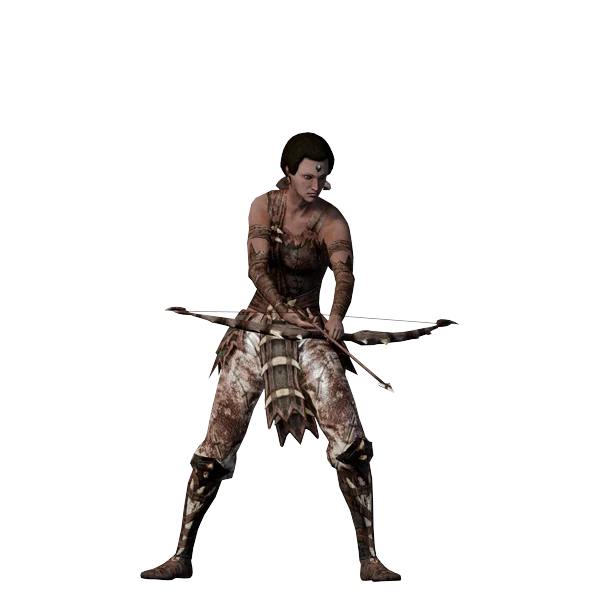
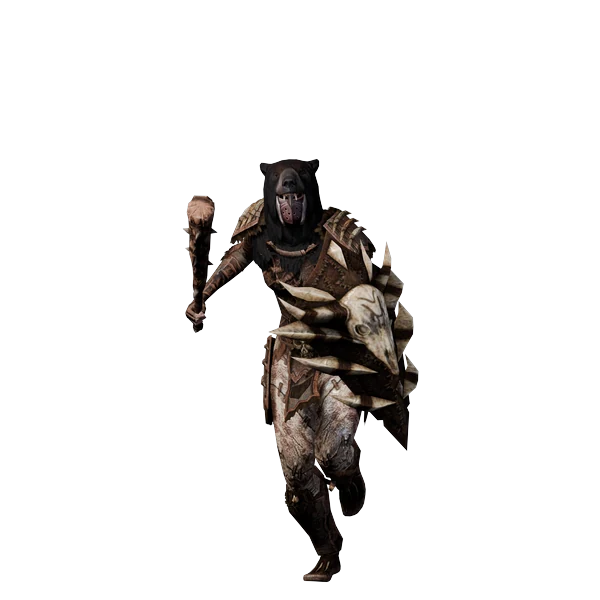
Wyress Sisters is a fight against 3 bosses. The sisters are supposed to buff each other with their auras, but in the Solo version they're extremely underwhelming except for the blue one, so they can be mostly ignored, and that one only starts appearing at 2 Misfortunes.
The only 2 abilities you have to look out for are Ursus's heavy attack - Power Bash, which you have to block or dodge roll, and Strigidae's Taking Aim, which you have to interrupt or dodge roll, but you have 9 seconds for that. Rangifer does have an important mechanic too, Rite of Passage, but failing it doesn't get you killed, it simply gives other sisters 75% damage reduction while she's channeling.
At 2 Misfortunes you should also look out for Strigidae's Owl Aura, which grants other sisters a 4% damage buff every 0.5 seconds which stacks up and can get out of hand pretty fast.
That's why you should kill Ursus first, then Strigidae, and then Rangifer.
Block or dodge roll Power Bash and interrupt or dodge roll Taking Aim.
Block or dodge roll Power Bash, interrupt or dodge roll Taking Aim, and don't let the sisters stay in the Owl Aura too long.

 Ursus
Heavy attack
Ursus
Heavy attack
Ursus winds up a heavy bash for 1.5 seconds.
What to do
Block or dodge roll it.

 Strigidae
Charged shot
Strigidae
Charged shot
Strigidae winds up a charged shot at you for 9 seconds.
What to do
Interrupt it or dodge roll.

Strigidae
Damage ramp
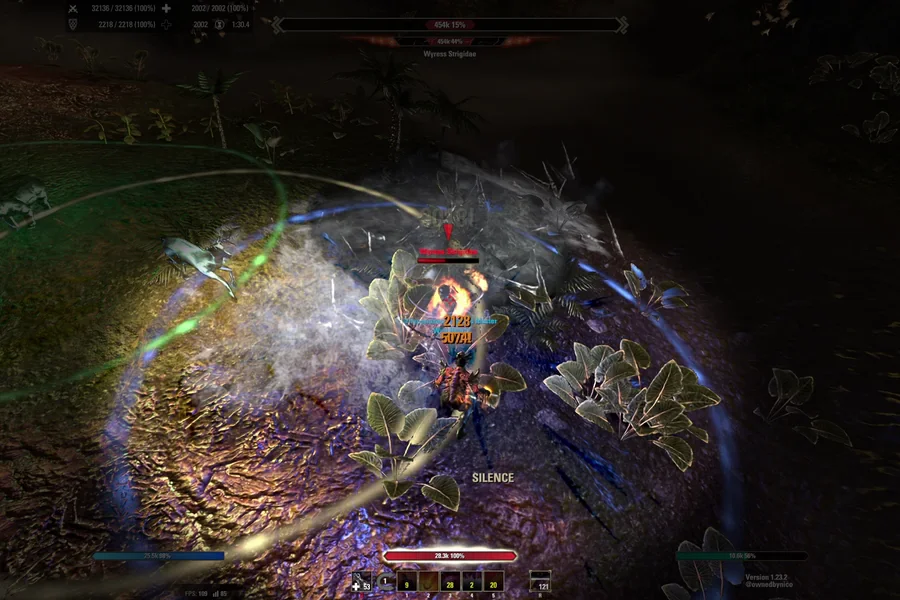
Wyress Strigidae's blue aura makes nearby sisters deal more damage. The damage buff ramps up by 4% every 0.5 seconds, up to 200% at 50 stacks, and resets when they leave the aura.
After Strigidae dies, a ghostly owl stays and keeps ramping the sisters' damage the same way. The surviving Wyresses also get Owl's Expertise, which gives them 25% more damage.
Bug
The aura is bigger than its visual shows.
What to do
Keep the other Wyresses out of the aura.

Strigidae
Strigidae teleports to you.
Strigidae teleports to you and brings her aura with her.
What to do
Move out of her aura.

 Rangifer
Healing beam
Rangifer
Healing beam
Rangifer channels a healing beam on herself or one of her sisters.
The heal is almost irrelevant, 1% of a sister's Health per cast at 3 Misfortunes.
What to do
Interrupt it.

Rangifer
Damage reduction
Rangifer channels for 4.5 seconds. While she channels, her two sisters take 75% less damage.
What to do
Interrupt it.

Strigidae
After a 2-second wind-up, Strigidae shoots a cone of arrows in front of her that snares you.
What to do
Block, dodge roll, or move out.
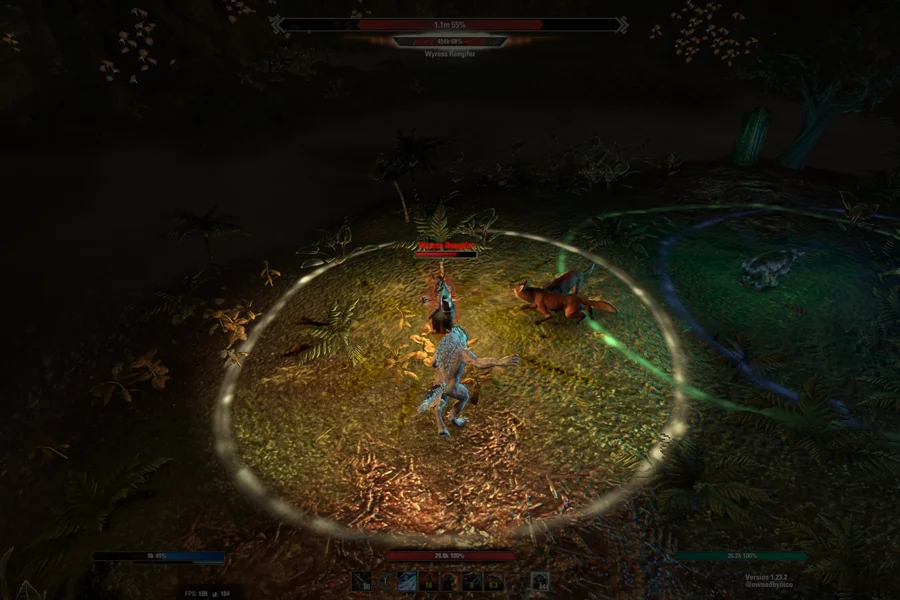

Rangifer
Stacking healing aura
Wyress Rangifer's yellow aura heals nearby sisters every 2 seconds, but only for 3 HP per tick (this might be bugged).
When Rangifer dies, the other Wyresses are healed for 15% of their Max HP. After that, a ghostly stag wanders around with the same aura.
Bug
The aura is bigger than its visual shows.
What to do
Ignore it, the heal does nothing.
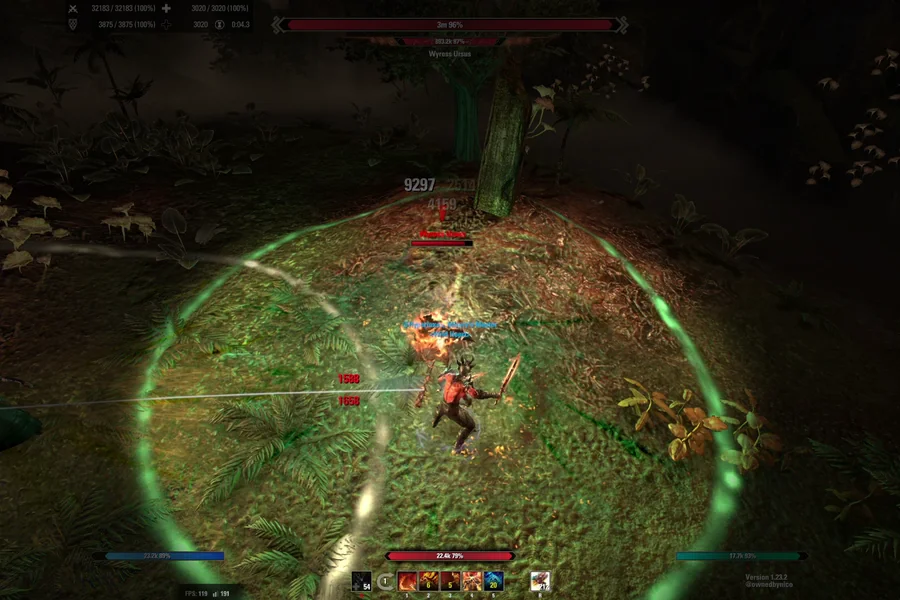

Ursus
Stacking damage shield
Wyress Ursus's green aura gives nearby sisters a small damage shield every second, only 1,149 damage at 0 Misfortunes. It doesn't ramp up.
After Ursus dies, a ghostly bear stays with the same aura.
Bug
The aura is bigger than its visual shows.
The ghost bear's aura does nothing.
The surviving Wyresses get Bear's Endurance, which currently does nothing.
Each shield absorbs 1,362 damage.
Each shield absorbs 1,701 damage.
Each shield absorbs 2,676 damage.
What to do
Ignore it, the shield is tiny even at 3 Misfortunes.

Ursus
Slowing hit
A hit that slows your movement speed for 12 seconds.
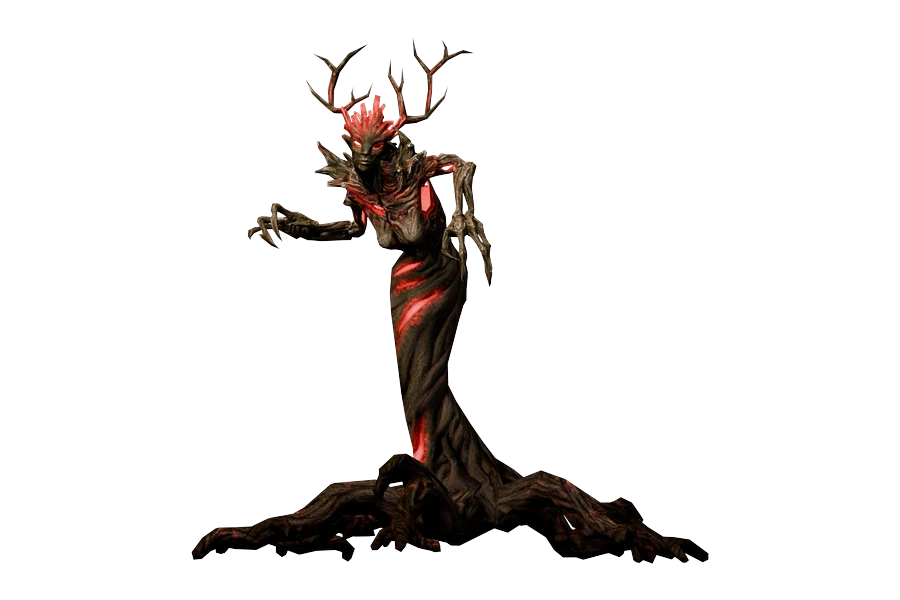
The fight repeats the same cycle: Aghaedh summons four Lurchers one at a time, then casts Agrestal Tempest. Kill a Lurcher, use the synergy it leaves, and stand in the opposite season's Sapling zone when the Tempest goes off. Block Crushing Limbs and Pulverize.
The fight repeats the same cycle: Aghaedh summons four Lurchers one at a time, then casts Agrestal Tempest. Kill a Lurcher, use the synergy it leaves, and stand in the opposite season's Sapling zone when the Tempest goes off. Block Crushing Limbs and Pulverize. Kill the Stranglers if you're getting overrun.
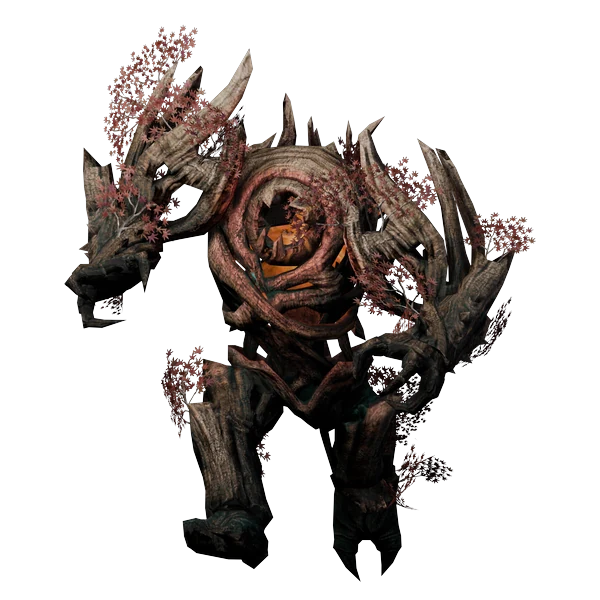
Adds
0 Misfortunes 23,976 Health
1 Misfortune 67,133 Health
2 Misfortunes 155,844 Health
3 Misfortunes 263,736 Health
Lurchers hit with Claw, Crushing Limbs and Pulverize, and they're weaker in the opposite season's Sapling zone. Each one leaves a corpse synergy when it dies, and you need it to survive Agrestal Tempest.
What to do
Kill all four Lurchers and use one corpse synergy.

Aghaedh summons four Lurchers every cycle, always in the same order: Autumn, Frost, Budding, then Blaze. They spawn on their Saplings. The next one can show up before the last one is dead.
The Sapling zones only appear when she awakens seasons.
There are four Sapling zones: Summer Wildfire (red), Spring Deluge (green), Winter Blizzard (blue) and Autumn Storm (yellow).
A Lurcher in the opposite season's zone has 25% less Max HP, takes 25% more damage and deals 25% less damage. In its own season's zone it deals 20% more damage.
When the first Lurcher appears, she gets a damage shield worth 15% of her Max HP. It lasts 60 seconds unless you break it, and killing the fourth Lurcher doesn't remove it.
Sapling zones hit every 2 seconds. Don't stand in one longer than you have to.
Any Lurcher still alive when Agrestal Tempest goes off gets Enraged.
What to do
Stack the Lurchers on Aghaedh. If you're struggling with survival, dragging them into the opposite zone is also a valid strat.

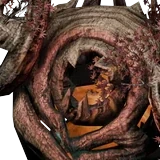 Lurcher
Heavy attack
Lurcher
Heavy attack
Heavy attack with a 1.5-second wind-up that stuns you if you don't block it.
Getting behind the Lurcher during the wind-up cancels the attack.
What to do
Block it.

Lurcher
Quick stun
Quick AoE with a 0.5-second wind-up that stuns you for less than a second if you don't block it.
What to do
Block it.

Corpse synergy required
Aghaedh channels for 7 seconds, then hits you with unavoidable Oblivion damage.
One synergy protects you from one Tempest, and only if you're standing in the opposite season's Sapling zone. If you took a Summer synergy, you have to go to the Winter zone.
What to do
Use a corpse synergy, then get into the opposite season's zone before the Tempest goes off.

Changes every cycle
Each cycle Aghaedh gets a different seasonal AoE around herself: Autumn's Tempest in the first, Winter's Gale in the second, Spring's Torrent in the third and Summer's Wildfire in the fourth, then it starts over. It hits you once a second while you're close to her.
What to do
Stand right on the edge of her AoE. Melee attacks can still reach her from there.
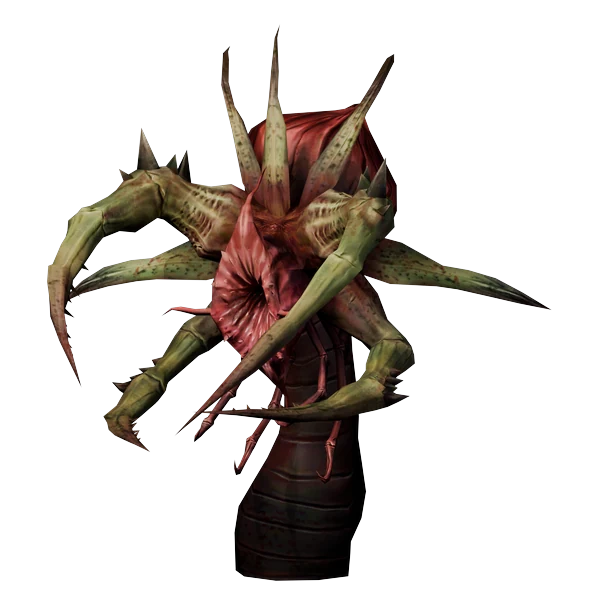
Adds
1 Misfortune 67,133 Health
2 Misfortunes 155,844 Health
3 Misfortunes 263,736 Health
Stranglers spawn around the arena every cycle and Spit at you from range. They can also Grapple you.
What to do
Kill them if you're getting overrun. Ignore them if the boss is almost dead.

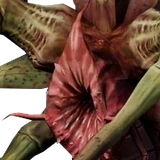 Strangler
Ranged hit
Strangler
Ranged hit
A ranged poison hit. It doesn't stack or leave a DoT.

Strangler
Short stun
A Strangler winds up for 0.4 seconds, then grabs you and stuns you until you break free.
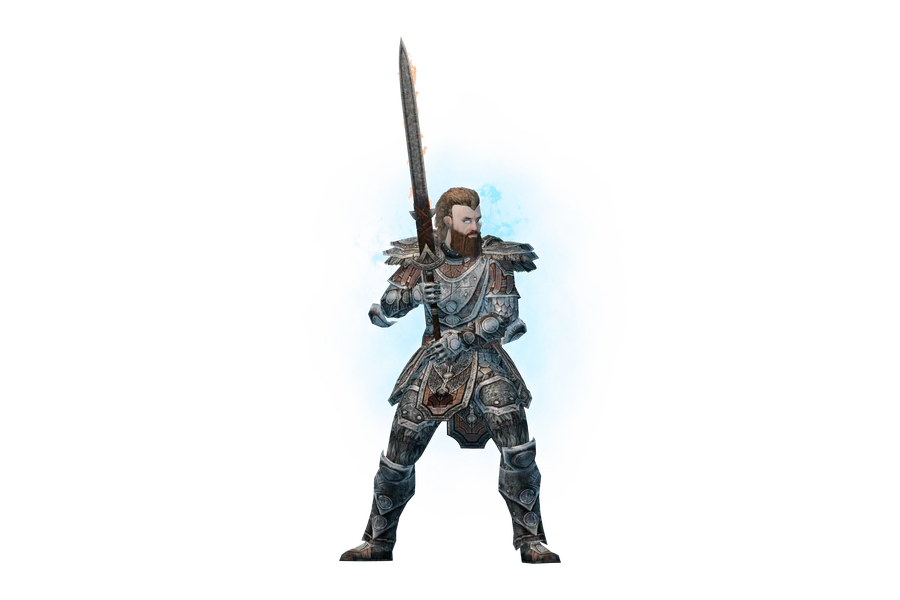
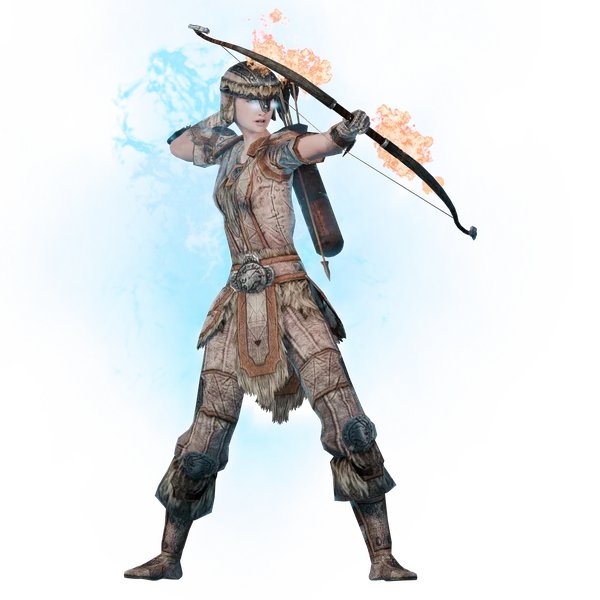
The most important mechanic is Dagrund's triple fire wave - Slinging Flame. You have to pay attention and move away when he's casting it. You also have to block or dodge roll his heavy attack - Ravaging Blow.
The fight is very easy if you just take your time to kill the archers (Bearfang Hunters). They spawn on HP thresholds, so you'll have to deal with a lot of them if you just focus Dagrund. Their Ice Arrow will stun you after 5 hits, and getting stunned right before his heavy attack or that triple wave is the most dangerous thing in this fight.
Stay on the move to kite the fire AoEs from the archers' Fire Arrow and the icy AoEs from Dagrund's Frost Form.
Move away from Dagrund when he casts Slinging Flame and block or dodge roll Ravaging Blow.

3 splitting fire whirlwinds
In Fire form, Dagrund winds up for 1.4 seconds, then throws out 3 Melting Point whirlwinds. They bounce off the walls and multiply.
He also does a Shocking Strike that hits anyone right in front of him.
What to do
Get away from him during the wind-up.
Heavy attack
Heavy attack with a 1.75-second wind-up that knocks you back and stuns you if you don't block it. It can also give you the same form DoT as Quick Strike.
What to do
Block or dodge roll it.
Adds at HP thresholds
0 Misfortunes 21,978 Health
1 Misfortune 43,956 Health
2 Misfortunes 175,824 Health
3 Misfortunes 197,802 Health
Hunters spawn at 90, 80, 75, 65, 55, 50 and 40% HP and stay until you kill them. They shoot Fire Arrow and Ice Arrow from range. Each archer spawns as either a Fire or Ice archer and only shoots the matching arrow.
Two more spawn at 30% and two at 20%.
What to do
Kill each wave before you push Dagrund into the next one.

 Hunter
Stacking stun
Hunter
Stacking stun
Every Ice Arrow that hits you adds a stack of Creeping Chill, which slows you. It lasts 8 seconds and refreshes with every hit.
At 5 stacks, Icy Tomb stuns you and the stacks reset.
What to do
Purge Creeping Chill, or break free as soon as you're stunned.

Hunter
Ramping fire AoE
Hunters shoot Fire Arrows that leave Scorched Earth on the ground where they land. It ramps up the longer you stand in it.
What to do
Get out of it.

Icicles under you
In Frost form, Dagrund casts Chilling Pylons, which drops icicles where you're standing.
Keep moving and they'll never hit you.
What to do
Keep moving.
Light attack with a form DoT
Fast melee hit with a 0.55-second wind-up.
It can put a DoT on you that matches Dagrund's current form: Sear in Fire form, Biting Cold in Frost form and Deadly Current in Shock form. The DoT lasts 8 seconds.

Lightning pulses
In Shock form, Dagrund hits you with lightning every 2 seconds.
What to do
Heal through it.

Jump AoE
Dagrund jumps, disappears for 2.5 seconds, then lands on you in an AoE that knocks you back and stuns you.
What to do
Get out of the landing AoE.
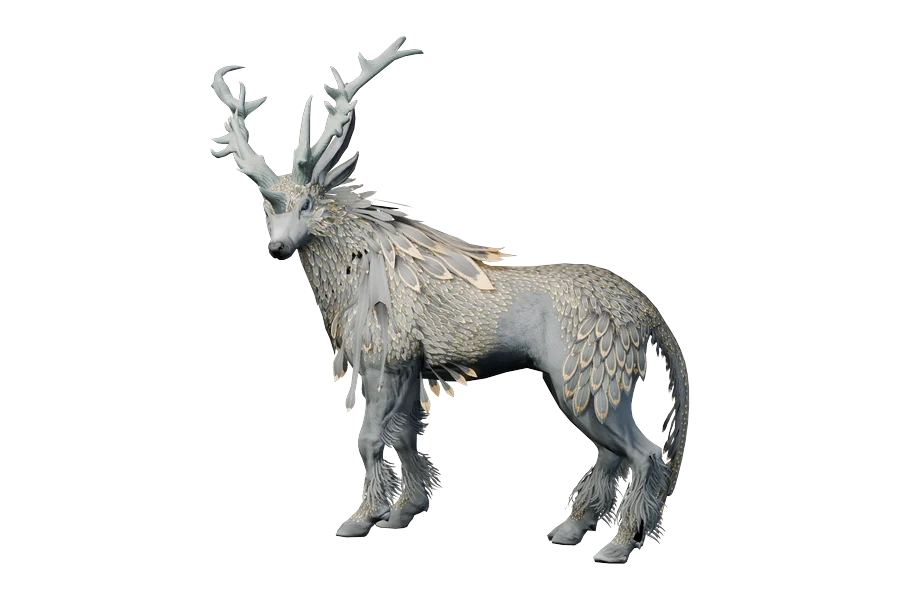
Before Tarcyr shows up, the fight opens with a Shrouding Mist phase. Crouch, follow Hanu's wisp, and use its synergy 3 times to find him.
Get out of Conflagration fast. Don't interrupt Static Charge, and outheal Cold Snap. At 80%, 55% and 20% HP he goes into Shrouding Mist again and you have to find him with the wisp.
Get out of Conflagration fast. Don't interrupt Static Charge, and outheal Cold Snap. Kill the Bloodscent Butchers. At 80%, 55% and 20% HP he goes into Shrouding Mist again and you have to find him with the wisp.
Heavy shock AoE
Heavy attack with a 2.25-second wind-up that deals Shock damage around you. It knocks you back and stuns you if you don't block it.
What to do
Block or dodge roll it.
Interruptible channel
Tarcyr channels on you for 7 seconds, hitting you with Shock damage every second. It can't be blocked, and it doesn't ramp up.
Bashing it stuns him.
What to do
Never interrupt it. It never ramps up, so it's better to let him channel.
Frost DoT
Tarcyr casts for 1.3 seconds, then leaves a frost DoT on you that ticks every half second for 8 seconds.
If he puts it on your companion, standing close to them hits you with a frost AoE every half second. It hits a lot harder than it hits the main target and gets stronger with every hit until you step away.
What to do
Outheal it. If it's on your companion, get away from them.

Stunning indrik charges
Tarcyr sends ghost copies of himself charging at you. If one hits you, you get knocked back and stunned.
What to do
Keep some distance from Tarcyr so you have time to get out of the way. Break free if you get stunned.
Adds
1 Misfortune 62,411 Health
2 Misfortunes 62,411 Health
3 Misfortunes 62,411 Health
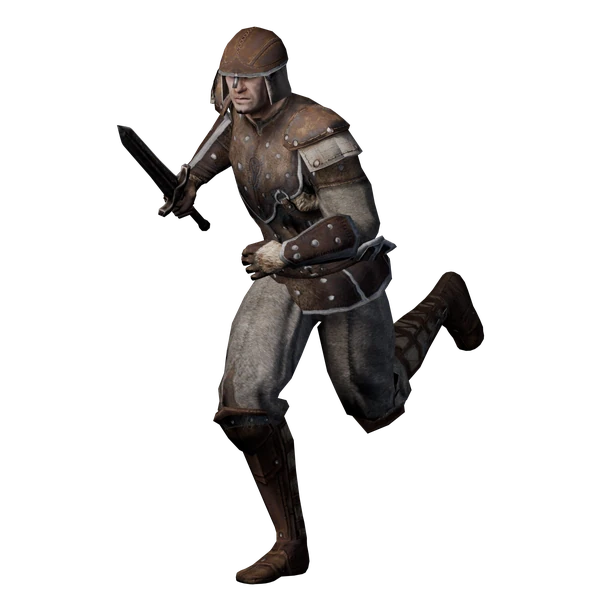
Tarcyr summons 2 Butchers at the start of the fight and 2 more after every Shrouding Mist. At 3 Misfortunes it's 4 each time.
What to do
Kill them.
 Butcher
Heavy attack
Butcher
Heavy attack
Heavy attack with a 1.6-second wind-up.
What to do
Block or dodge roll it.
Fire trail
Tarcyr charges around the arena and leaves a trail of fire behind him. While he charges, he has a damage shield worth 5% of his max Health.
The fire ramps up with every hit.
What to do
Get out of the fire fast.

Disappears until revealed by the wisp
At 80%, 55%, and 20% HP, Tarcyr disappears and fills the arena with fog.
Hanu's wisp shows up. Use it 3 times to reveal Tarcyr.
The first hunt only has Stampede. Chilling Pylons join from the second hunt.
Getting caught ports you up and you take fall damage. It's the same height every time, so you can fail as many times as you want.
You can delay the hunt by pushing him while he channels Static Charge. With good DPS you can skip the 20% hunt completely by taking him from 20% to 0 during the channel.
Fiery Torrent joins in the third hunt.
Every catch ports you higher, and the 3rd catch in a row kills you.
What to do
Crouch, follow the wisp and use its synergy every time it stops.
Avoid the ghost indriks and frost AoEs while following the wisp.
Avoid the ghost indriks and frost AoEs while following the wisp.
Avoid the ghost indriks, frost AoEs and roaming fire AoEs while following the wisp.
Avoid the ghost indriks, frost AoEs and roaming fire AoEs while following the wisp.
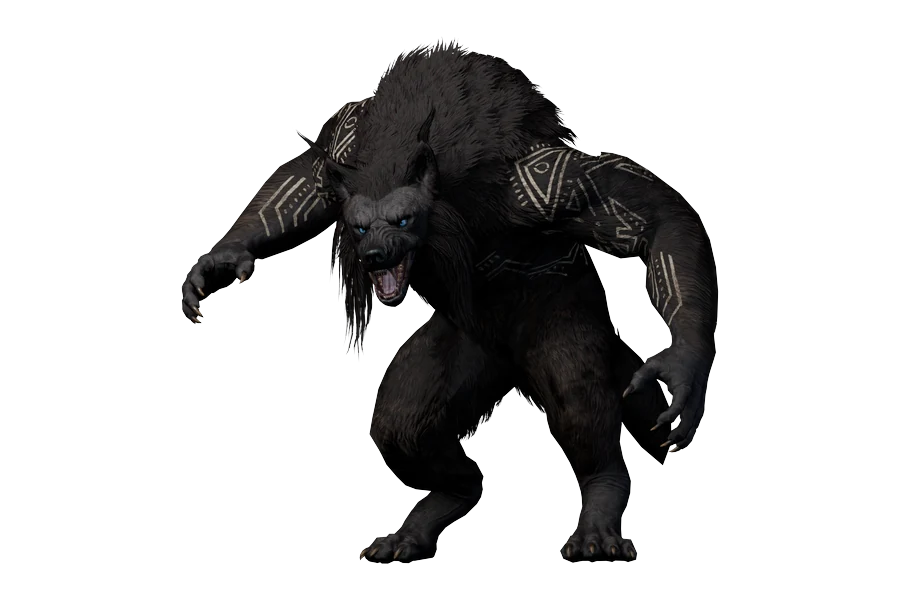
Balorgh alternates between a poison slam (Venomous Spores) and a lightning slam (Thunder Stomp). He always starts with poison and goes back to poison after every hunt. After the poison slam, the islands get covered in Poison Plants and the water is safe. After the lightning slam, the water is electrified and the islands are safe. Always stand on the terrain that's going to be safe next. At 80%, 60%, 40% and 20% HP he starts a Hunting Party: lure him through Tharas's blue trap. Kill the Dire Wolves quickly.
Heavy attack
Heavy Physical attack with a 2-second wind-up.
What to do
Block or dodge roll it.

Stacking Bite DoT
Balorgh's Bite puts Bleeding on you, a 12-second DoT. Every Bite resets it. It does more damage over the fight than anything else Balorgh does.
Blocking Bite reduces the hit, but you still get the Bleeding. You can dodge roll it, but the wind-up is only 0.4 seconds, so you're meant to outheal it.
What to do
Keep healing while it's on you.

Frontal snare and frost DoT
Balorgh winds up for 1.9 seconds, then breathes frost in a cone in front of him for 2 seconds. If you're in it, you take damage over time and get snared for 6 seconds.
What to do
Get out of the cone.

Knockdown charge
Balorgh winds up for 1.6 seconds, then charges and knocks you down if you're in his way. Blocking stops the knockdown.
What to do
Get out of his path or block it.
Point-blank flame AoE
Balorgh winds up for 2.1 seconds, then deals a lot of Flame damage around himself.
What to do
Get out of the AoE.

Poisoned islands
Balorgh slams the ground and Poison Plants cover the islands.
Blocking reduces the slam's damage, but it still stuns you.
What to do
Get out of the slam or dodge roll it, then get off the islands.

Electrified water and lightning waves
Balorgh stomps, electrifying the water and sending out lightning waves that stagger you if they hit.
What to do
Get onto the islands and avoid the lightning waves.

Fog chase and blue trap
At 80%, 60%, 40% and 20% HP, Balorgh goes invulnerable and fog covers the arena.
Hunted puts a red marker on you. He's taunt immune for the whole hunt.
Tharas sets a trap, marked by a bright blue pillar.
If you stall after the last scripted hunt, he starts another one on a timer.
What to do
Go to the blue pillar and lure Balorgh into the trap.
Adds
0 Misfortunes 23,976 Health
1 Misfortune 67,133 Health
2 Misfortunes 155,844 Health
3 Misfortunes 263,736 Health
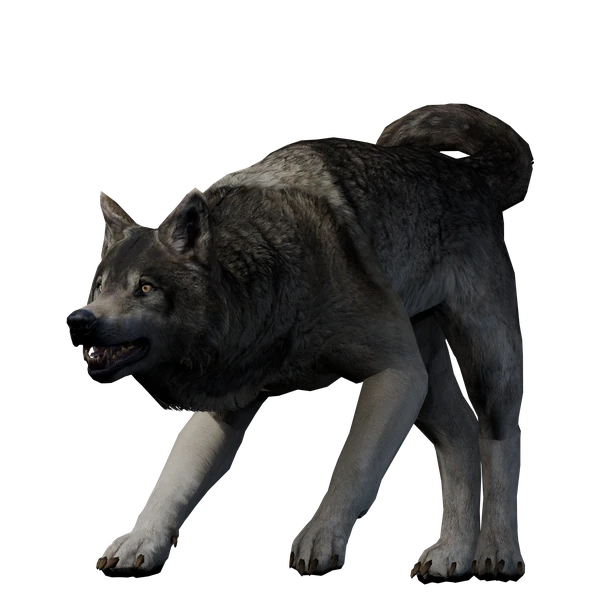
2 Dire Wolves spawn at the start of every hunt. After the last scripted hunt, one more keeps spawning every so often until the fight ends.
4 wolves spawn at the start of every hunt, and 2 at a time keep spawning after the last scripted hunt.
6 wolves spawn at the start of every hunt, and 3 at a time keep spawning after the last scripted hunt.
What to do
Kill them fast.
 Dire Wolf
Heavy attack
Dire Wolf
Heavy attack
It deals a lot of damage like a heavy attack and has a 2-second wind-up as if it was one. If it hits you, you bleed for 9 seconds. Blocking it stops the bleed.
Bug
It has no heavy attack indicator and no special animation.
What to do
Block or dodge roll it.
There are three optional hidden Golden Indriks in March of Sacrifices. Each one gives you a boon for the rest of the dungeon. Werewolves get stronger boons. You can still do the hunts after killing Balorgh.

First Golden Indrik
Effect275 Weapon and Spell Damage.
 Werewolf EffectWerewolves get 375 Weapon and Spell Damage instead.
Second Golden Indrik
EffectRemoves the movement speed penalty while crouching, makes crouch movement 50% faster, and makes stealth movement cost no Stamina.
Werewolf EffectWerewolves are also immune to Indrik teleportation magic and can interact with Hunting Wisps.
You have 26 seconds to kill it before it escapes. If the Indrik escapes, you can't retry it.
Third Golden Indrik
Effect2500 Max HP and 5% damage reduction.
Werewolf EffectWerewolves get 4000 Max HP and 10% damage reduction instead.
There are three side areas for the Golden Indrik Hunts, to start them you need to find a Wisp hidden somewhere in the surrounding area. It takes on the form of a mundane item, like a plant or a pile of dirt, it glows blue and emits a low, pulsing chime. After interacting with the Mysterious item, follow the Wisp to the hunting ground and crouch to use the synergy to start it.
During the hunt you have to stay crouched, if you're a Werewolf Prowl counts too, if you get hit, stop crouching, or let Prowl run out, you get teleported into the air and will take increasing fall damage, but if you were full health it won't kill you. Keep following the Wisp and use its synergy whenever it stops. After the third synergy the Golden Indrik will spawn, kill it before it finishes its channel and you get its boon.
The Wisp for the first Golden Indrik Hunt is somewhere after Wyress Sisters, but before the waterfall you jump down. The second one is between Aghaedh and Dagrund. And the last one is between Tarcyr and Balorgh.


Finishing The Great Hunt gives 415 gold every time. It also gives the Solo March of Sacrifices Armaments box and 5 Transmute Crystals once a week. The box contains a dungeon set piece. Clearing it again the same week gives the Solo March of Sacrifices Overland Rewards box instead, which contains an overland set piece from Greenshade. Your first completion also gives a skill point.
March of Sacrifices drops Hanu’s Compassion (Light), Blood Moon (Medium), Haven of Ursus (Heavy) and Tarcyr head piece (Any Weight).
Dungeon sets drop from any boss on any difficulty, the Monster Helm only drops from the final boss, and is only guaranteed at 2 Misfortunes and up. Boss drops are green at 0 Misfortunes, blue at 1, a mix of blue and purple at 2 and all purple at 3. The final boss drops weapons or jewelry, while every other boss drops only armor pieces.
The Wyress Sisters’ gear doesn’t drop from their corpses but from the chest right after them. Doing all 3 Golden Indrik Hunts also gives you a chest at the end called Hircine’s Spoils. It usually has a weapon or a piece of jewelry from these 3 sets.
Random chests in the dungeon don’t drop dungeon sets, and their gear stays green at any Misfortune count. Intermediate chests can also have an overland set piece from Greenshade.
Boss drops are curated, so if they can drop something you haven’t collected yet, they will.
All 3 dungeon sets are bad.
The Tarcyr shoulder piece does not drop and can only be obtained from boxes bought from Veya Thenim in the Undaunted Enclave.
| Misfortunes | 0Story | 1Normal | 2Veteran | 3Dauntless |
|---|---|---|---|---|
| Undaunted Crests | 50 | 100 | 150 | 200 |
| Set quality | Green | Blue | Blue, some purple | Purple |
| Tarcyr mask | Very low chance | Chance | Guaranteed | Guaranteed |
| Bust: Tarcyr | – | Chance | Guaranteed | Guaranteed |
| Mask style page | – | Chance | Moderate chance | Best chance |
Undaunted Crests are a currency exclusive to solo dungeons. You earn them every clear, with the amount depending on how many Misfortunes you have active.
Spend them at Veya Thenim the Crest Merchant, in the Undaunted Enclaves outside Wayrest, Mournhold and Elden Root.
| Item | Crests |
|---|---|
| Curated Tarcyr CofferThis curated ornate bone coffer contains an uncollected piece of shoulder equipment (not including Nirnhoned) from the Tarcyr item set. | 300 |
| Curated Hanu’s Compassion ItemA Light Armor set found in March of Sacrifices. | 300 |
| Curated Blood Moon ItemA Medium Armor set found in March of Sacrifices. | 300 |
| Curated Haven of Ursus ItemA Heavy Armor set found in March of Sacrifices. | 300 |
| Bound Style Page: Tarcyr ShoulderGrants an Outfit Style Collectible. Once used, the Outfit Style is available to all characters on your account. Outfit Styles can be used at an Outfit Station to customize your appearance. | 1,000 |
| Bloodscent Dew | 25 |
| Undaunted Key ContainerThis contains 1 Undaunted Key. | 500 |
| Undaunted Apothecary’s ParcelA wax-lined parcel for alchemists and apothecaries, containing Cultivated Cryptpods and other reagents. | 50 |
| Reward | Type | How to Get It | Preview |
|---|---|---|---|
| Tarcyr Style Pages | Outfit Style | Mask page: rare drop from Balorgh from 1 Misfortune up. Shoulder page: Veya Thenim, 1,000. |
|
| Werewolf Form, Red | Skill Style | Skill Stylist IV: Werewolf Form - Use 10 Wolf Totem Shards and 10 Hunter Totem Shards from the Solo March of Sacrifices and Solo Moon Hunter Keep. |
|
| Apex Hunter | Title | Marcher Meted Masochist - Complete Solo March of Sacrifices with every Meted Misfortune. | No preview |
| Trophy: Tarcyr | Furnishing | Finish Solo March of Sacrifices. |
|
| Bust: Tarcyr | Furnishing | Guaranteed from 2 Misfortunes, with a chance at 1. |
|
Balorgh drops a  Wolf Totem Shard. The first clear of the day always gets one, with only a low chance after that. 10 Wolf Totem Shards and 10
  Hunter Totem Shards, from the two solo dungeons, unlock the Werewolf Form, Red skill style.
Hircine’s Spoils also gives  Bloodscent Dew, the Huntsman style material, and
  Cultivated Cryptpods, a new alchemy reagent.
  Wondrous Nowhere Keys drop too.
| Item | Drops From |
|---|---|
| Wolf Totem Shardfor Werewolf Form, Red | BalorghGuaranteed on your first clear of the day, then a small chance |
| Bloodscent DewHuntsman style material | Bosses, Hircine’s Spoils and chests |
| Cultivated Cryptpodsalchemy reagent | Bosses, Hircine’s Spoils, chests and trash mobs |
| Wondrous Nowhere Key | Bosses and chests |
Defeat the Wyrd Sisters, Aghaedh of the Solstice, Dagrund the Bulky, Tarcyr, and Balorgh in the Solo Dungeon March of Sacrifices.
Complete the Solo Dungeon March of Sacrifices after experiencing each Meted Misfortune individually or in combination.
Complete the Solo Dungeon March of Sacrifices with at least two active Meted Misfortunes.
Complete the Solo Dungeon March of Sacrifices with every Meted Misfortune.
Complete all associated achievements in the Solo Dungeon March of Sacrifices.
Defeat Tarcyr the Indrik without its Shrouding Mist ability teleporting you more than once in the Solo Dungeon March of Sacrifices.
Complete all three Golden Indrik Hunts and gain their boons within the Solo Dungeon March of Sacrifices.
Defeat Dagrund the Bulky while getting hit no more than once by his Upheaval ability in the Solo Dungeon March of Sacrifices.
Acquire and use 10 Wolf Totem Shards and 10 Hunter Totem Shards collected from the March of Sacrifices and Moon Hunter Keep solo dungeons to unlock the Werewolf Form, Red skill style.
Solo March of Sacrifices drops Hanu's Compassion, Blood Moon, Haven of Ursus, and the Tarcyr Monster Set, plus Undaunted Crests, Wolf Totem Shards for Werewolf Form, Red, Bloodscent Dew, and the Tarcyr Trophy and Bust. See the Rewards section for the full list.
The entrance is in southwestern Greenshade, southwest of Serpent's Grotto Wayshrine. You can also enter the solo version from the world map. It's free for everyone.
Meted Misfortunes are optional debuffs that make the solo version harder and the rewards better. In March of Sacrifices they are Warm Welcome, Weary Submission and Pulled Punches. At 0 it's pretty much overland, 1 is like a normal solo arena, 2 is harder than a veteran solo arena, and 3 is harder than any other solo content.
Boon of Ferocity gives 275 Weapon and Spell Damage, or 375 in Werewolf form. Boon of Prowling removes the crouch movement penalty, makes crouch movement 50% faster, and removes its Stamina cost. Werewolves can also interact with Hunting Wisps and become immune to Indrik teleport magic. Boon of Hardiness gives 2500 Max HP and 5% damage reduction, or 4000 Max HP and 10% damage reduction in Werewolf form.


 Undaunted Crests
 Bust: Tarcyr
 Mask style page


 Werewolf Form, Red
 Apex Hunter
 Trophy: Tarcyr