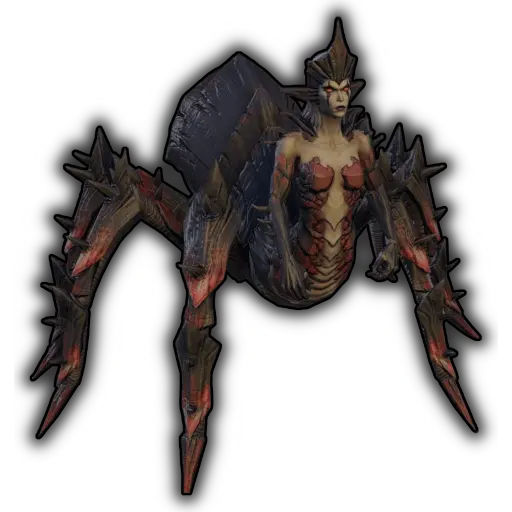
The Blind briefly becomes untargetable and activates different mechanics depending on her Health.
At 80% Max Health The Blind will activate Blind Shards - 4 skeletons standing at the edge of the arena. From now on they will continuously send
 Gleaming Deluge
AoEs in 4 lanes.
Gleaming Deluge
AoEs in 4 lanes.
At 20% Max Health The Blind repeats the exact same thing that happens at 80%, while also disabling
 Piercing Beams
but spawning
Gleaming Deluge
much more frequently.
Piercing Beams
but spawning
Gleaming Deluge
much more frequently.
In Veteran and above
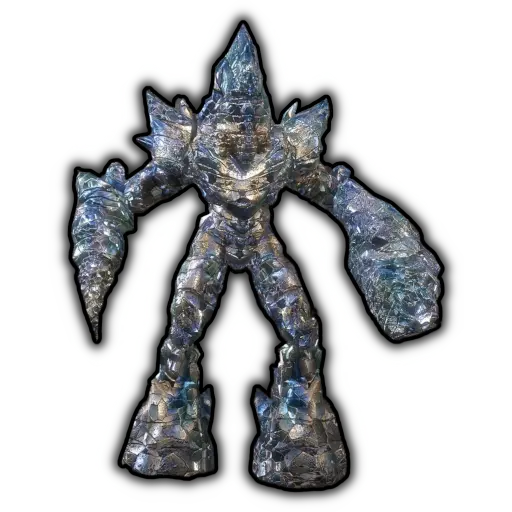
At 60% Max Health The Blind will spawn 2 Glass Remnant adds who will channel Blinding Salvo. They cannot be chained. The Blind will come back after the adds are dead or after 50 seconds have passed. The Blind Shard skeletons will also start casting
Piercing Beam
while you are fighting the Glass Remnants.
At 40% Max Health The Blind repeats the exact same thing that happens at 60%, except this time the
Piercing Beams
continue even after you have defeated the Glass Remnant.
In Hard Mode
At 60% Max Health The Blind will spawn 2 Glass Remnant adds who will channel Blinding Salvo. They cannot be chained. The Blind will come back after the adds are dead or after 50 seconds have passed. The Blind Shard skeletons will also start casting
Piercing Beam
from now until the 20% intermission.
At 40% Max Health The Blind repeats the exact same thing that happens at 60%.
The point from which
Piercing Beams
continue even after the intermission is 60%, rather than 40%.
What to do
If you are a Damage Dealer or the Healer block when The Blind is finishing the intermission as she will aggro onto someone without giving the tank any time to taunt.
If you are a Damage Dealer or the Healer block when The Blind is finishing the intermission as she will aggro onto someone without giving the tank any time to taunt.
If you are a Damage Dealer or the Healer block when The Blind is finishing the intermission as she will aggro onto someone without giving the tank any time to taunt.