

I Bid You Adieu!
Complete the quest "Raising the Riotous Redress" during the High Seas of Tamriel event.
This counts down to the High Seas of Tamriel event, not Update 51, which launches two days earlier.
The High Seas of Tamriel event runs from September 30 through October 14, 2026, two days after Update 51 launches on September 28. It begins with the Raising the Riotous Redress quest which unlocks the repeatable Bounty of the Abecean Sea daily quest.
Completing an event quest (including prologue) gives you  300 Trade Bars per account each day.
Complete Raising the Riotous Redress to restore the ship and unlock the daily quest.
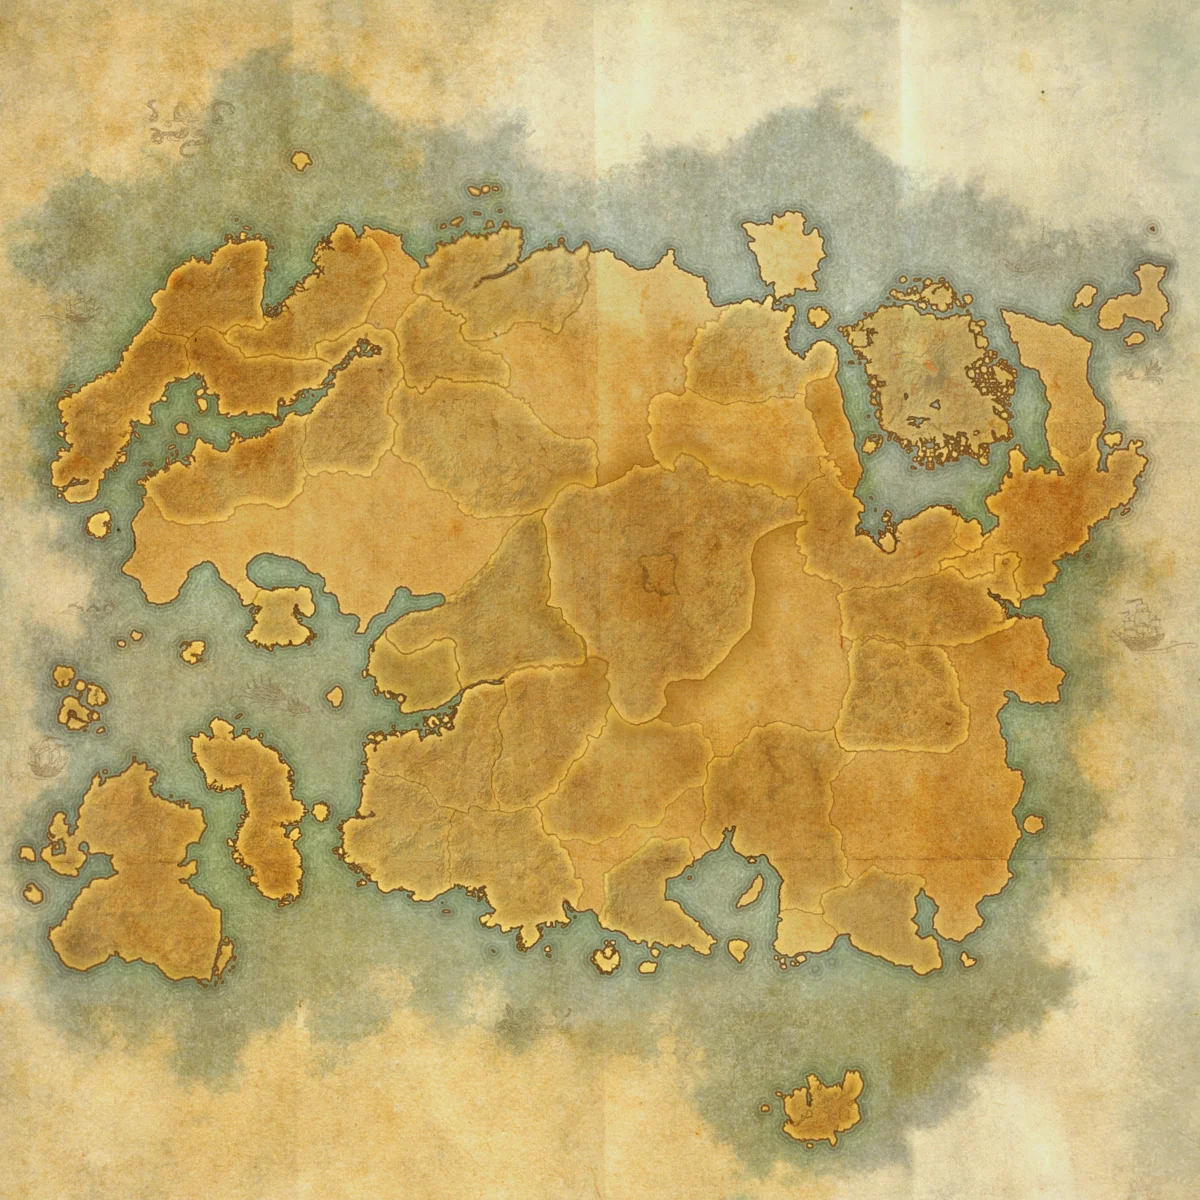 Tamriel
 Gold Coast
 Gold Coast
 Sunken Cavern
Baron-Captain Olsien Guy Mard
Sunken Cavern
Baron-Captain Olsien Guy Mard
 Kvatch
Accept Raising the Riotous Redress from the Quest Starters section of the Crown Store, or speak to Baron-Captain Olsien Guy Mard on the Gold Coast beach just outside Anvil.
Baron-Captain Olsien Guy Mard sends you after the enchanted bell that can bring the sunken Riotous Redress back to the surface.
Travel north-northwest along the coast toward the Ayleid ruins and follow the Hadolids into Sunken Cavern.
Defeat Clagkrack the Covetous Claw, then take the Fractured Ship's Bell from the debris behind him.
Take the Fractured Ship's Bell back to Baron-Captain Olsien Guy Mard on the beach. He notices that its clapper is missing and sends you to have the bell repaired.
Take the fractured bell to the Eight Blessings in Kvatch and speak with Ulene Teneran.
Ulene directs you to Tuindoril in the hedge maze in western Kvatch.
 Kvatch
 Ulene Teneran
Tuindoril
Ulene Teneran
Tuindoril
Find Tuindoril in the hedge maze in western Kvatch. Ask him to restore the enchanted bell.
Return to the beach outside Anvil and ring the repaired bell. Once the Riotous Redress surfaces, speak with Baron-Captain Olsien Guy Mard to complete the quest.
The prologue awards that day's 300 Trade Bars, so you do not need to complete the daily voyage on the same day if that is all you care about.
After completing Raising the Riotous Redress, use the ship's logbook on the beach to start Bounty of the Abecean Sea.
An enemy ship attacks the Riotous Redress after you set sail.
Fire the Riotous Catapults whenever the attacking ship moves into range. It took 10 catapult shots to sink the ship during my solo run.
Louse-Whisperer boarders attack you and the friendly Ghostly Crew between catapult shots. Kill the boarders and any Champions, then use Repair on Hull Breaches.
You cannot go below deck. Despite their name, Hull Breaches are glowing fireballs on the top deck. You lose the battle if five Hull Breaches are present at the same time.
Baron-Captain on Deck requires 10 catapult shots and 10 Hull Breach repairs. Ending the Louse-Whisperers requires 10 Champion kills.
There are two ways to win the ship battle:
Abecean Spoils of War can contain tradeable Antiquity Leads and a  Sack of Pirate Gold. The sack has a very rare chance to contain 1,000,000 gold. There is also a small chance to receive a High Seas furnishing or a High Seas Antiquity Lead. They also contain random gear, treasure, and crafting materials.
After the ship battle, collect the Post-Battle Flotsam and use the Dwemer Diving Chamber aboard the Riotous Redress. The chamber takes you to the sea floor inside a protective bubble.
Look above the Dwemer Diving Chamber and harpoon the marked stalactite to continue. The same stalactites appear in Leviathan's Gullet, where dropping them closes vents and opens the path.
When your bubble pops, you start taking damage. Enemy attacks, hydrothermal vents, and the tornado-like Reef Shark attacks can pop it.
Walk into one of the glowing green clams to restore your bubble. You do not need to interact with the clam.
The Harpoon is used on Vent Blockages and stalactites:
The Abecean Depths has two maps and two caves. You begin beside the Dwemer Diving Chamber on the first map.
Coral Forest and Ornaug Grotto don't have any unique mechanics, just adds.
Open vents block the route through Leviathan's Gullet. Look above them for marked stalactites, then harpoon the stalactites to close the vents and open the passage.
The boss here is Lucky Gretch, a Haj Mota with 327.3k Health. She periodically charges into clams to gain a Bubble Barrier, which makes her immune.
Harpoon the nearby Vent Blockages to uncover the hydrothermal vents, then lead Lucky Gretch over an active vent. The vent pops her barrier and lets you damage her again. The same vent can also pop your bubble.
Inside the cavern, Lucky Gretch joins Bright Bazzle, another 327.3k-Health Haj Mota, and several Haj Mota Hatchlings.
Kill Bright Bazzle first. Killing him also kills Lucky Gretch and every remaining hatchling. Killing Lucky Gretch first enrages every other enemy.
The northern exit from Haj Mota Hunting Grounds leads to the next area.
This area splits into two paths that rejoin at the cave leading to Krelzimar's Den.
There are no unique mechanics inside the Wreck of the Sea Demon, just adds and Undersea Treasures.
Reef Shark Run is one of the two paths through the second underwater area. Reef Sharks charge at you when you enter their outer ring, and if they touch you with their inner circle, your bubble pops. They leave you alone and return to their patrol route if you stand in one of the glowing green clams.
Krelzimar has 358.5k Health and becomes immune at roughly 66% and 33% Health. The immunity ends on a timer after each explosion phase, so killing the spawned Yaghra does not remove it early.
An AoE covers the arena floor while a geyser erupts from a glowing circle. Standing in the geyser gives you Upthrust, launching you up for five seconds which allows you to avoid the explosion. The explosion only dealt roughly 20k damage on the lowest difficulty, so I could survive it without using the geyser.
 Captured Systres Zephr, a fragment for the Suncleft Grotto Ornaug mount, dropped for me on my first Krelzimar kill.
Examine The Golden King's Treasure to complete the underwater objective, then use the southern exit. This returns you to the first underwater area near the Dwemer Diving Chamber.
Eight Messages in Bottles are scattered throughout the underwater areas. You only need to find four to complete the Wave-Tossed Missives achievement.
Bottle numbers match their order in Wave-Tossed Missives. They have a faint glow but can still blend into coral and wreckage.
All eight bottle locations are marked on the maps below, with a screenshot and a note for each one.
The first High Seas quest completed per account each day gives a  Legendary Deep Plunder Box and 300 Trade Bars. After that, each character can earn one Epic Deep Plunder Box from another High Seas quest that day.
Legendary Deep Plunder Boxes can contain Abecean Sea Privateer Weapon Style Pages.
 Galen Seawater, one of the three Suncleft Grotto Ornaug fragments, can drop from Legendary Deep Plunder Boxes.
Both Legendary and Epic Deep Plunder Boxes can contain:
After the ship battle, Post-Battle Flotsam appears in the water off the side deck. Fish from it to pull up your Abecean Spoils of War chest.
The ship battle awards one Abecean Spoils of War chest if you outlast the attacking ship, or two if you sink it with the catapults.
Abecean Spoils of War can contain tradeable Antiquity Leads, random gear, treasure, crafting materials, and a Sack of Pirate Gold. The sack has a very rare chance to contain 1,000,000 gold. Abecean Spoils of War also have a small chance to contain a High Seas furnishing or High Seas Antiquity Lead. Tradeable Antiquity Leads are only for sellable treasures.
Undersea Treasures can appear as direct chests or Dirt Mounds. Dig Up a Dirt Mound to reveal either a chest or a Gigantic Clam. Direct chests, Dirt Mounds, and Gigantic Clams use the same loot table.
The underwater areas also contain regular Giant Clams. They have the same loot as Giant Clams in Summerset and are not marked on these maps.
Undersea Treasures can drop High Seas furnishings, Furnishing Plans, High Seas Antiquity Leads, and tradeable Antiquity Leads.
The green circles show 16 possible Undersea Treasure spots I have recorded so far.

You get the Ostentatious Pirate Wig and Hat for completing Raising the Riotous Redress, the introductory quest for the event.
Abecean Sea Privateer Weapon Style Pages can drop from Legendary Deep Plunder Boxes or be purchased from the Impresario during the event.
| Weapon | Preview |
|---|---|
| Battle Axe | |
| Maul | |
| Greatsword | |
| Axe | |
| Bow | |
| Dagger | |
| Mace | |
| Shield | |
| Staff | |
| Sword |
Combine all three fragments to unlock the Suncleft Grotto Ornaug.
| Fragment | Source |
|---|---|
| Galen Seawater |
Legendary Deep Plunder Box
Awarded for completing the daily voyage
|
| Captured Systres Zephr | Undersea bosses |
| Arcing Ornaug Energy | Flight of the Albatross achievement |
High Seas adds eight Antiquities that award furnishings and two that award Furnishing Plans.
Abecean Spoils of War can drop High Seas Antiquity Leads. I found the Cursed Ship's Bell Lead in an Undersea Treasure.
| Antiquity | Preview |
|---|---|
| Ship in a Bottle, Yokudan | |
| Cursed Ship's Bell | |
| Fossil, Mudcrab | |
| Fossil, Mud Hopper | |
| Fossil, Slaughterfish | |
| Fossil, Yaghra | |
| Fossil, Giant Fish Tail The furnishing itself is called Fossil, Giant Sea Beast Tail. | |
| Fossil, Giant Fish Head The furnishing itself is called Fossil, Giant Sea Beast Head. |
| Antiquity | Preview |
|---|---|
| Sketch: Ancient Dwarven Mechanism | |
| Praxis: Fountain, Grand Seashell |
High Seas furnishings can drop from Deep Plunder Boxes, Abecean Spoils of War, undersea bosses, and Undersea Treasures. Deep Plunder Boxes and Abecean Spoils of War only have a small chance to drop one. The exact source for each furnishing is still unconfirmed.
| Furnishing | Preview |
|---|---|
| Dwarven Diving Chamber, Replica | |
| Aquarium, Conjured Sphere | |
| Bountiful Treasure Chest | |
| Book, Ship's Log | |
| Pirate Flag, Sea Elf | |
| Golden King of the Abecean Sea | |
| Ship Figurehead, Yokudan | |
| Driftwood Sculpture, Large |
Furnishing Plans drop from Undersea Treasures.
| Plan | Preview |
|---|---|
| Blueprint: Driftwood Bowl | |
| Blueprint: Driftwood Divider, Folding | |
| Blueprint: Driftwood Arrangement, Hanging | |
| Design: Scrimshaw, Horn | |
| Design: Scrimshaw, Skull | |
| Design: Scrimshaw, Tooth | |
| Praxis: Sandcastle, Abecean Seafloor | |
| Formula: Fish Bowl, Small | |
| Blueprint: Driftwood Archway |
Abecean Saltwater Fishing Holes appear off the Gold Coast near the Riotous Redress. Catch all four rare fish to complete High Seas Master Angler.
The in-game Help entry says Abecean Saltwater Fishing Holes appear around the ship after defeating Krelzimar and claiming the Golden King’s treasure. That is not what I observed. They were already present off the Gold Coast on a character that had not completed the prologue.
Gold Coast
 Fishing Holes
Daily Quest
Fishing Holes
Daily Quest
Complete the quest "Raising the Riotous Redress" during the High Seas of Tamriel event.
Complete the daily quest "Bounty of the Abecean Sea" 5 times during the High Seas of Tamriel event. Survive a ship battle, brave the ocean depths, and return with a pile of treasure!
Catch rare fish from Abecean Saltwater Fishing Holes! Abecean Saltwater Fishing Holes appear in the waters off the Gold Coast, near the Anchorage for the Riotous Redress, during the High Seas of Tamriel event.
Complete the achievements listed below during the High Seas of Tamriel event.
Complete the captain-y tasks listed below aboard the Riotous Redress during the High Seas of Tamriel event.
Win the day in a ship-to-ship battle by outlasting or sinking an attacking ship during the High Seas of Tamriel event.
While engaging in a ship battle, slay 10 champions sent to board the Riotous Redress during the High Seas of Tamriel event.
Survive a shipboard battle and use the Dwemer diving chamber to reach the sea floor during the High Seas of Tamriel event.
Use the Dwemer diving chamber to explore and clear the underwater region of the Abecean Sea during the High Seas of Tamriel event.
During the High Seas of Tamriel event, explore the undersea area of the Abecean and find four messages in a bottle at the locations listed below.
Slay the underwater bosses lurking in the depths of the Abecean Sea during the High Seas of Tamriel event.